A/C RECHARGE INSTRUCTIONS

How to recharge with a Pressure Gauge and/or SMART CLIPS®

These general-use instructions will help you recharge your A/C system with any refrigerant product featuring a pressure gauge and/or SMART CLIPS. Please note that using a low-side gauge can be inaccurate and lead to overcharging your system, which is why it’s important to also check the vent temperature using SMART CLIPS, SMART CHIP® or another temperature-reading device. Learn more about the risks of overcharging your system.

INSTRUCTIONS:

CAUTION: ALWAYS WEAR PROTECTIVE RUBBER GLOVES AND EYE WEAR. DANGER: NEVER PLACE REFRIGERANT CAN ON ANY HOT ENGINE PART.

Note: for best results, park your vehicle in a shaded area outside of direct sunlight and let it cool down for several minutes.

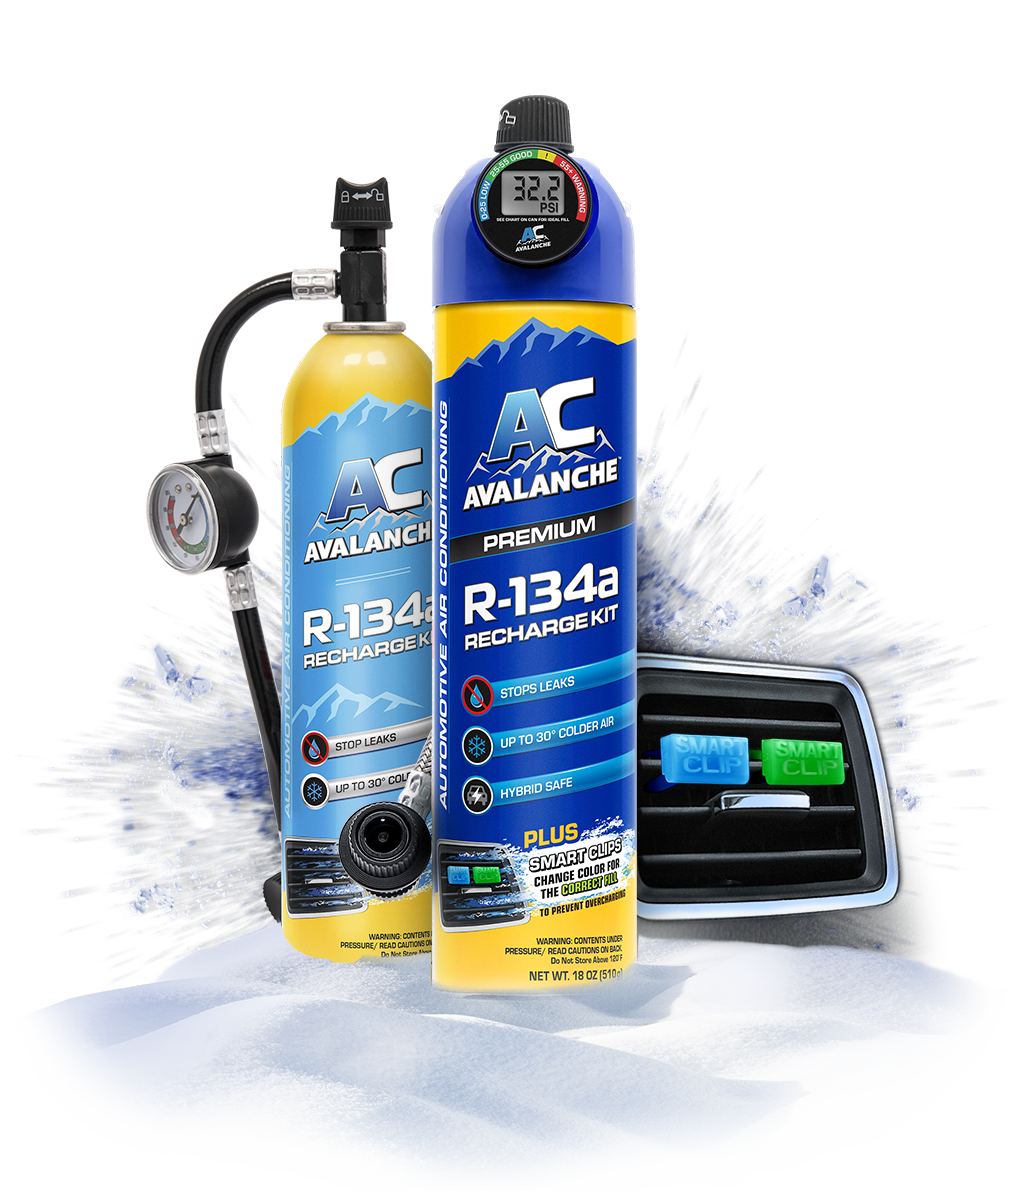
1. Remove SMART CLIPS from the cap and insert into vehicle’s center air vent.

  • Tighten recharge hose to can by turning counter-clockwise (R-1234yf) or clockwise (R-134a).

Note: If your refrigerant product does not include SMART CLIPS then proceed with caution and check vent temperature often while adding refrigerant.

2. Open vehicle hood, locate the low-side service port and remove port cap.

  • Recharge hose will only connect to the low-side port.

3. Start the engine and turn on A/C.

  • Set controls to maximum cool, maximum air flow and recirculation mode.
  • Close all windows and doors of vehicle.
  • Important: Let the A/C system run for several minutes to reach its maximum cooling capability.

4. Shake the can well and connect recharge hose to low-side service port.

  • Pull coupler ring back as you push fitting onto the port.
  • Ensure coupler locks in place to prevent leaking.

5. Determine the ideal PSI level using temperature pressure chart and check system pressure.

  • Read gauge pressure when the compressor clutch cycles on
  • If the gauge reads:
    • Below 25 PSI: system is low on refrigerant. Begin recharging process.
    • 25-55 PSI: system may be properly charged. Check SMART CLIPS, blue coloring indicates cool air is flowing.
    • Above 55 PSI: If compressor clutch is cycled on, do not recharge – seek a mechanic’s assistance.

6. Add refrigerant to the system.

  • Use your recharge hose dispensing mechanism to add refrigerant to the system.
  • Do this while continually rotating the can in a sweeping motion from the 12 o’clock to 3 o’clock position. This ensures that any additives are even distributed during the recharge process.

7. Stop adding refrigerant to check gauge pressure every 10-15 seconds.

  • Continue process until the gauge reaches the ideal PSI level according to the chart.
  • If your gauge is not increasing, stop charging and check SMART CLIPS as directed in next step.
  • DO NOT OVERCHARGE. DO NOT VENT.

8. Check SMART CLIPS for temperature.

With vehicle in park, press gas pedal slightly to increase RPM and check color for:

  • Blue = cool, approaching optimum fill.
  • Green = max cold, charging is complete.
  • NOTE: If outside temperature is above 95º, only the blue clip needs to change.

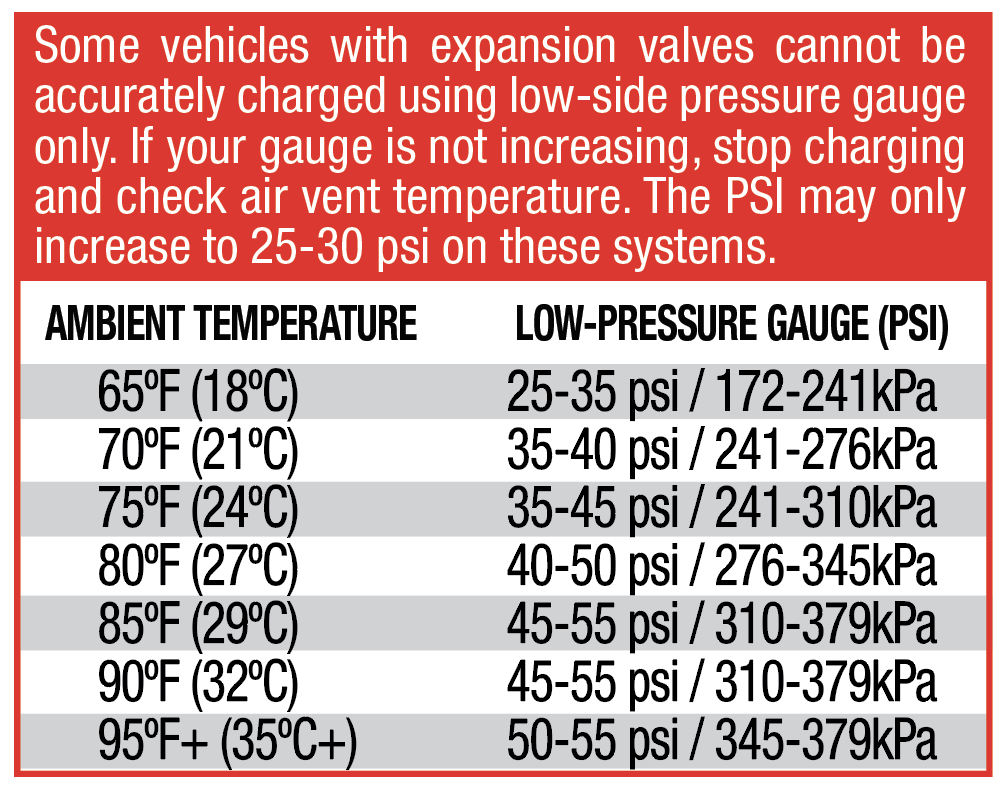
9. Stop charging when correct PSI level is reached and/or SMART CLIPS indicate the A/C is blowing cold.

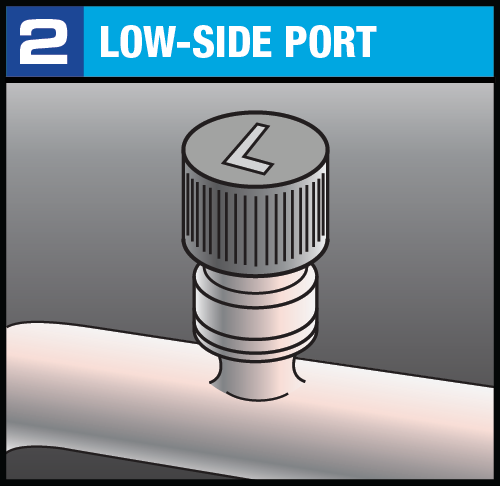
  • Remove the quick-connect coupler from the service port.
  • Store can in a cool, dry place or discard according to state or local guidelines.

DANGER: STORE IN COOL PLACE – NEVER IN PASSENGER CABIN OF VEHICLE AS CAN MAY EXPLODE. DO NOT EXPOSE TO TEMPERATURES ABOVE 120°F. DO NOT PUNCTURE OR INCINERATE.

WARNING: KEEP OUT OF REACH OF CHILDREN. EXPOSURE TO SKIN MAY CAUSE FROSTBITE. FLUSH WITH WARM WATER. IF SPRAYED INTO EYES, FLUSH WITH WARM WATER. IF INHALED, REMOVE TO FRESH AIR AND CALL PHYSICIAN IMMEDIATELY.

Menu